Last month I got a reel of Raspberry Pi Pico Ws. Several will eventually be paired with BME280s and used to measure temperature, humidity, and barometric pressure throughout the house.
That project will have to wait a few weeks until I can unpack my soldering iron.
In the mean time I’ve been fiddling MicroPython. My thoughts so far are below…
Ordering and Delivery
Ordering was a bit of a headache. The sites that I normally buy from all had one or more of the following annoyances:
- Ridiculous markup
- Outrageous shipping fees
- Comically low quantity limit
The Pico and Pico W are not supply chain constrained like the Raspberry Pi 4B and Raspberry Pi Zero 2 W, so I’m not sure why retailers are doing this.
I finally checked DigiKey, and they had plenty of Pico Ws in stock and none of the aforementioned shenanigans. I ordered a reel of 20 Pico Ws for $6.00 apiece on October 3rd. The package arrived on October 5th.
As of this writing, DigiKey still has over 15,000 Pico Ws in stock.
Hardware
Thoughts:
- 264 kB of RAM feels quite roomy on a microcontroller.
- Built-in wifi is incredibly useful because you don’t have to sacrifice a bunch of pins for external communication.
- PIO looks promising, although I haven’t really used it yet.
- The onboard temperature sensor is not very accurate.
Flashing MicroPython
Flashing via USB mass storage is great. I didn’t have to install an SDK, fight with finicky wiring, or use an obscure microcontroller flashing tool.
To get up and running with MicroPython, you can follow these instructions. The basic steps in Linux are as follows:
- Press the BOOTSEL button on the Pico W.
- Connect the Pico W to your computer via USB. It appears as USB mass storage device.
- Mount the mass storage device. Many distributions will automatically
mount the device for you as
/media/RPI-RP2. - Copy a UF2 image to the mounted disk.
- The Pico W will flash itself and reboot.
If you’ve flashed MicroPython, then at this point you can connect to
a REPL via USB serial (e.g. screen /dev/ttyACM0).
The Pico and Pico W have SWD pins, so you can still flash via SWD if you want to; instructions are available in the documentation.
MicroPython
MicroPython is fantastic. I was able to blink the onboard LED, read the onboard temperature sensor, connect to wifi, and make web requests less than an hour after unpacking the Pico W.
Example: Blink LED
MicroPython v1.19.1 on 2022-10-06; Raspberry Pi Pico W with RP2040
Type "help()" for more information.
>>> led = machine.Pin('LED', machine.Pin.OUT) # get LED
>>> led.toggle() # enable LED
>>> led.value() # check status
1
>>> led.toggle() # disable LED
>>> led.value() # check status
0
>>>
Example: Connect to Wifi and send an HTTP request
MicroPython v1.19.1 on 2022-10-06; Raspberry Pi Pico W with RP2040
Type "help()" for more information.
>>> import network
>>> wifi = network.WLAN()
>>> wifi.active(True) # enable wifi
>>> wifi.connect('ssid', 'password') # replace 'ssid' and 'password' with your SSID and password
>>> wifi.status() # wait until wifi is connected (e.g., status = 3)
3
>>> import urequests
>>> data = urequests.get('https://pablotron.org/').content # send http request, get response body
>>> len(data) # print number of bytes received
48693
One useful tip: machine.unique_id() returns a unique ID for the
device. This is useful because it allows you to flash the same image to
several Pico Ws and then use machine.unique_id() to uniquely
identify them. Example:
>>> import binascii
>>> binascii.hexlify(machine.unique_id())
b'e6614c311b867937'
Miscellaneous MicroPython notes:
- Many of the libraries in the MicroPython standard library are reasonable subsets of their counterparts from the Python standard library.
- MicroPython does not have Pip or PyPI. Instead you install packages via mip. I used it mip install and use the MQTT library.
- You can build a Unix version of MicroPython by following the
instructions in the
ports/unixdirectory of the MicroPython Git repository. - You can exhaust the RAM fairly easily by trying to fetch web content which is larger than the available RAM. Not that I would make such a silly mistake…
Pictures
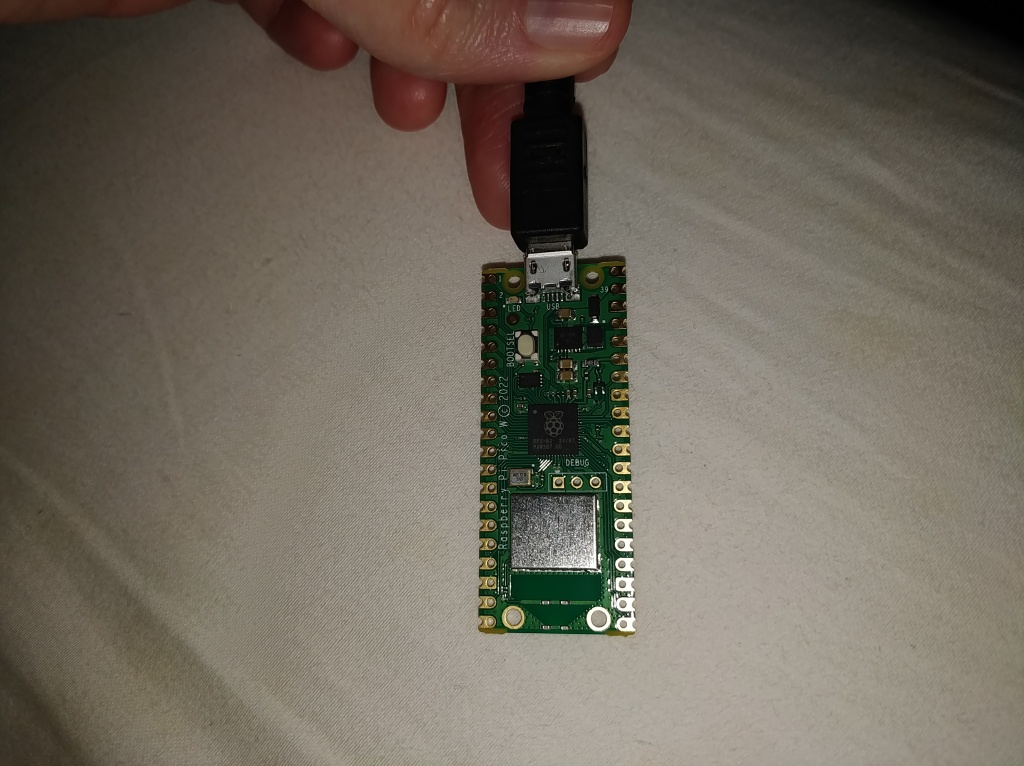
Reel of Raspberry Pi Pico Ws. Individual Pico W. Advanced Pico W testing facility.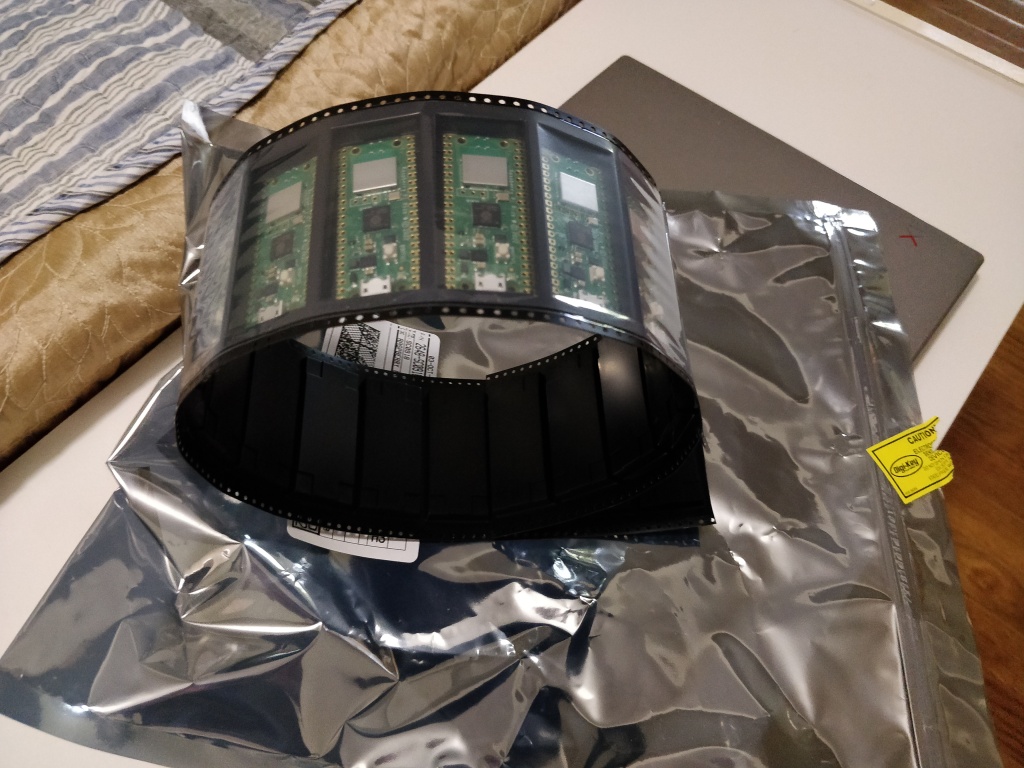
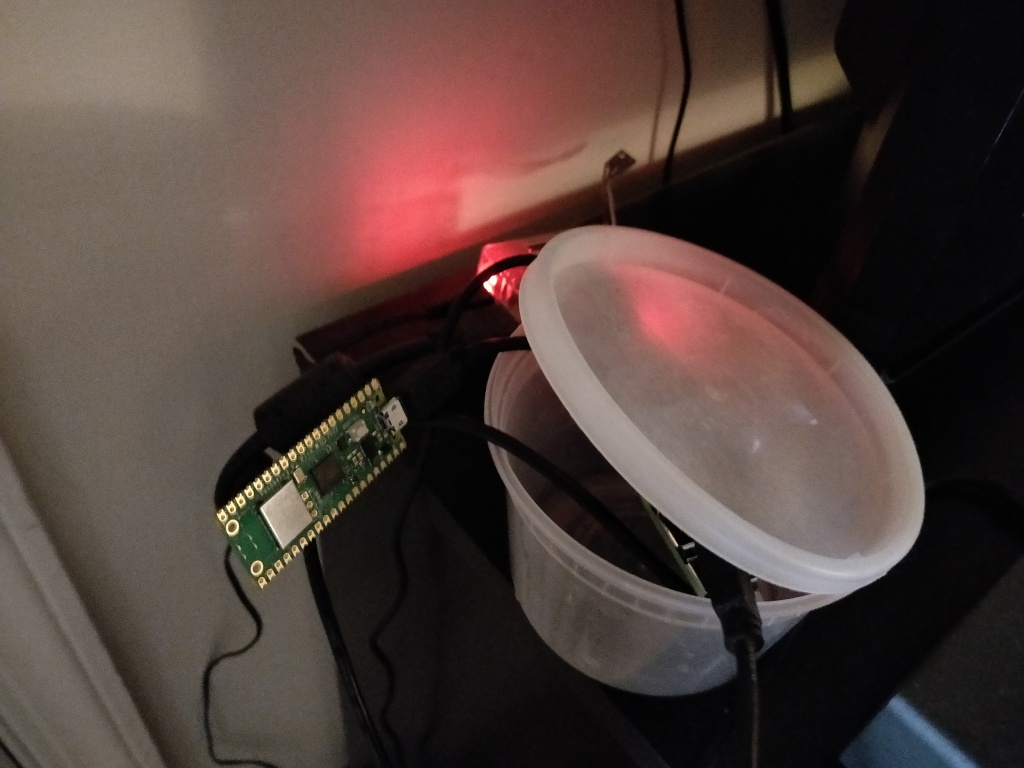
Description of the last picture:
- Foreground: Pico W connected via USB to a
Raspberry Pi 4B (4GB), sitting in a delivery container. The
Pi 4B is used for miscellaneous
aarch64testing like the hash benchmarks from June. - Background: Raspberry Pi 3B in a proper case with a BME280 soldered to it to the I²C pins. The Pi 3B is the bedroom HTPC (running Kodi) and temperature monitor.